Learn how to create simple agricultural drawings with easy-to-follow steps that bring farm scenes to life on paper.
Look Inside:
Selecting Simple Agricultural Subjects
Kick-start your sketching adventure by focusing on the basics—think barns, tractors, and open fields. These are iconic symbols of the farming landscape and are relatively straightforward to draw. A classic red barn offers straight lines and simple shapes, making it a great starting point. When you’re feeling comfortable with that, why not shake things up by drawing a tractor? Their geometric forms are ideal for practicing perspective. And of course, don’t overlook the charm of a wide-open field; a horizon line and a few wavy shapes can capture the essence of agricultural land. If you fancy a touch of greenery, try your hand at drawing a fruit tree. The rough outline of the trunk and the cloud-like shape of the foliage are forgiving for beginners. Remember, simplicity is your friend here, so let’s keep it light, fun, and grounded.
Essential Drawing Materials
Before diving into your artistic endeavor, gather your toolkit. Start with a quality sketchpad, as a solid base can do wonders for your work. Pencil-wise, a regular HB is your trusty companion for rough sketches, while softer pencils like 2B or 4B are perfect for adding depth and shadow. Of course, you’ll need an eraser for those inevitable do-overs. Mistakes are just missteps on the path to mastery, after all.
Don’t overlook the power of simple tools like rulers; they help keep your farmhouse from looking like it’s melting into the sunset. For color, colored pencils or watercolor paints bring your draw-it-yourself landscapes to life. Think of them as the zest to your artwork’s lemonade.
Lastly, a sharpener. Nothing halts creativity like a dull pencil. Keep your tools sharp and your mind sharper, and you’re set to turn a blank page into lush, green pastures.
Step-by-Step Guide to Drawing a Simple Farm Scene
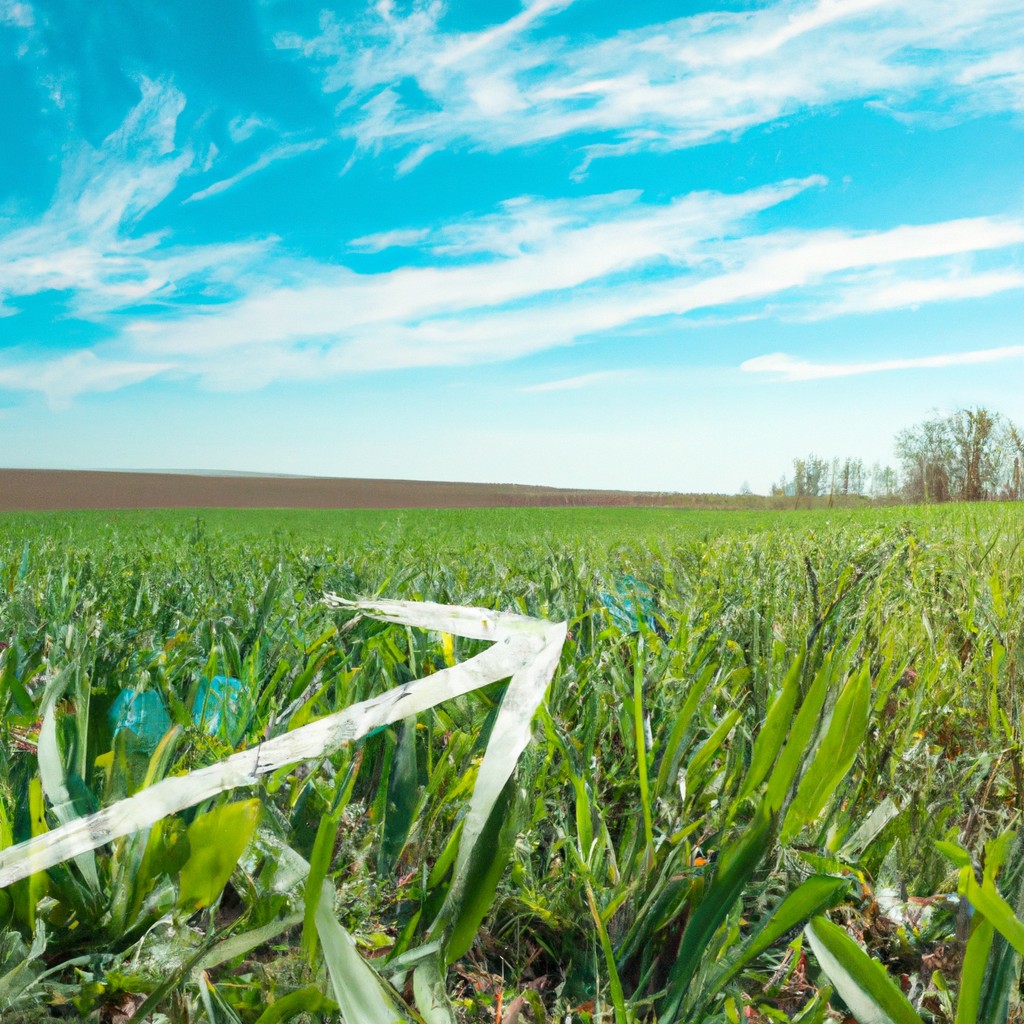
Imagine a sweeping field under a spacious sky – that’s your canvas. Start by sketching the horizon line to separate earth from sky. Now, gently outline a classic red barn to the side; not dead center, that’s too predictable!
Next, dot in some trees behind the barn, varying their sizes to give a sense of depth. Add a touch of whimsy with a winding path – think a lazy river of dirt or cobblestone, leading to the barn or curving off-page.
Ready for crops? Nothing screams ‘farm’ like neatly ordered rows. Use straight lines for a bird’s-eye view or gentle waves for that up-close-and-personal angle.
Now, to bring your farm to life, pepper in a scarecrow in the fields, or maybe a tractor if machines are more your style. And remember, sometimes it’s the imperfections that make a drawing charming, so if your cow looks more like a quirky blob with spots, embrace it! Think of it as abstract art meeting farm life.
Keep your pencil light initially; bold lines can come later, like adding emphasis to a good story. Adjust as you go, and watch your simple farm scene turn into something you can almost smell – the fresh hay and the earth after rain.
Techniques for Sketching Plants and Crops
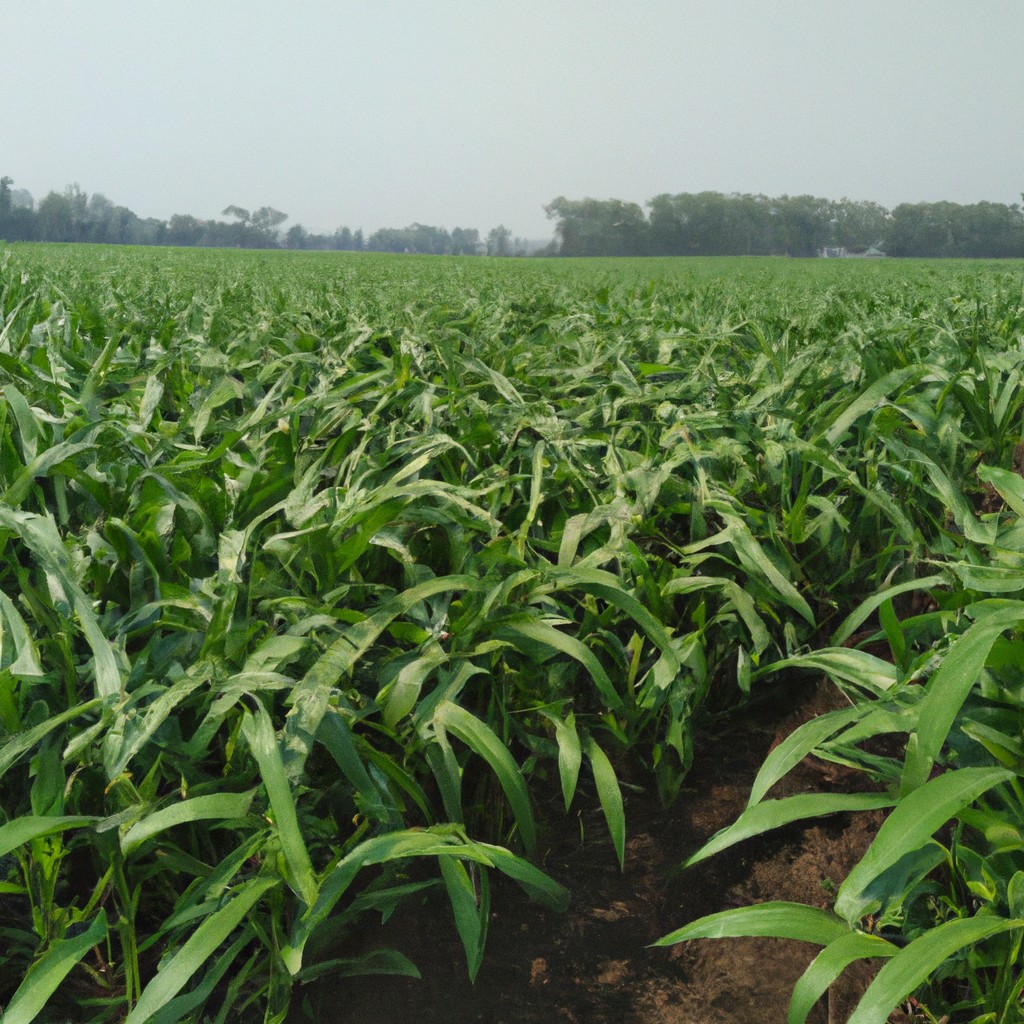
Starting with the basics can turn a complex farm landscape into a series of approachable sketches, especially when focusing on plants and crops. Consider the shape and texture of the plant you’re drawing. For leafy vegetables, like lettuce or cabbage, draw loose, wavy lines to represent the edges of leaves. To convey the fullness of the plant, add some curved lines to hint at the volume. This creates a visual effect of lushness without overwhelming detail.
If you’re sketching rows of crops, such as corn or wheat, start with parallel lines to lay out the field’s structure. For individual stalks, use straight lines, and top them with simplified representations of the crop—small circles for corn and feathery strokes for wheat. This repetition not only gives the impression of abundance but also creates rhythm in your drawing.
Fruit trees can be even more fun, beginning with a basic trunk and branching patterns. Dots or small circles can symbolize fruit hanging from the branches, and a few scattered leaves can complete the look. Remember, the goal is to capture the essence without getting lost in the details—so if your apple looks more like a circle than a Granny Smith, you’re on the right track.
Embrace irregularities as they add charm and a touch of realism to your drawings. Nature doesn’t do straight lines or perfect shapes, and that’s good news for your sketchbook! Keep your hand relaxed and let those plants sprout on the page, just like they would in the field.
Simplifying Livestock Figures for Drawing
Breaking down the shapes of animals into basic geometric figures can help novice artists grasp the fundamentals of drawing livestock. Imagine each animal as a collection of circles, ovals, and rectangles. For instance, a cow’s body can be depicted as a large oval with a smaller circle for the head, and rectangles for legs. Sketch lightly at first to make adjustments as you go along without leaving harsh lines.
Focus on proportions to give a sense of realism, even in a simplified drawing. A horse will have longer legs in relation to its body compared to a pig, which has a more rounded, compact form.
Add characteristic details sparingly. A few well-placed lines can suggest the texture of wool on a sheep or the mane of a horse without overwhelming the drawing. Remember that a couple of lines for eyes, a simple curve for a mouth, or dots for nostrils can convey an animal’s expression effectively.
Lastly, always observe the animals you’re attempting to sketch, if possible. Notice how they move, rest, and interact with their surroundings. Even in simple representations, capturing a bit of the animal’s essence can bring your drawing to life.
Related Reading
 15 Lucrative Agriculture Business Ideas to Boost Your Success
 Secretary of Agriculture Responsibilities: What They Actually Do
 Agricultural Commodity Prices Today: Your Daily Digest
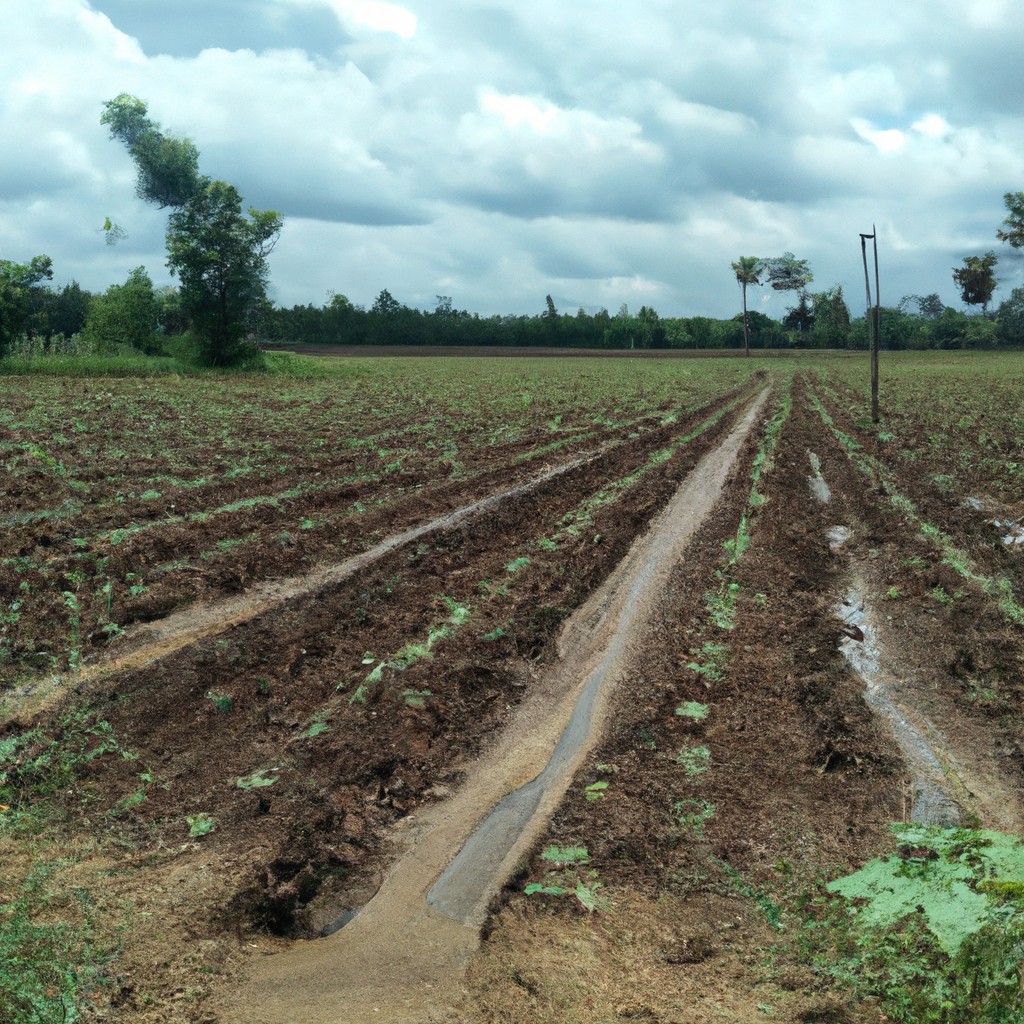 Biggest Agriculture Companies: Giants Feeding the World
 Sedentary Agriculture: Transform Your Soil Without Moving an Inch